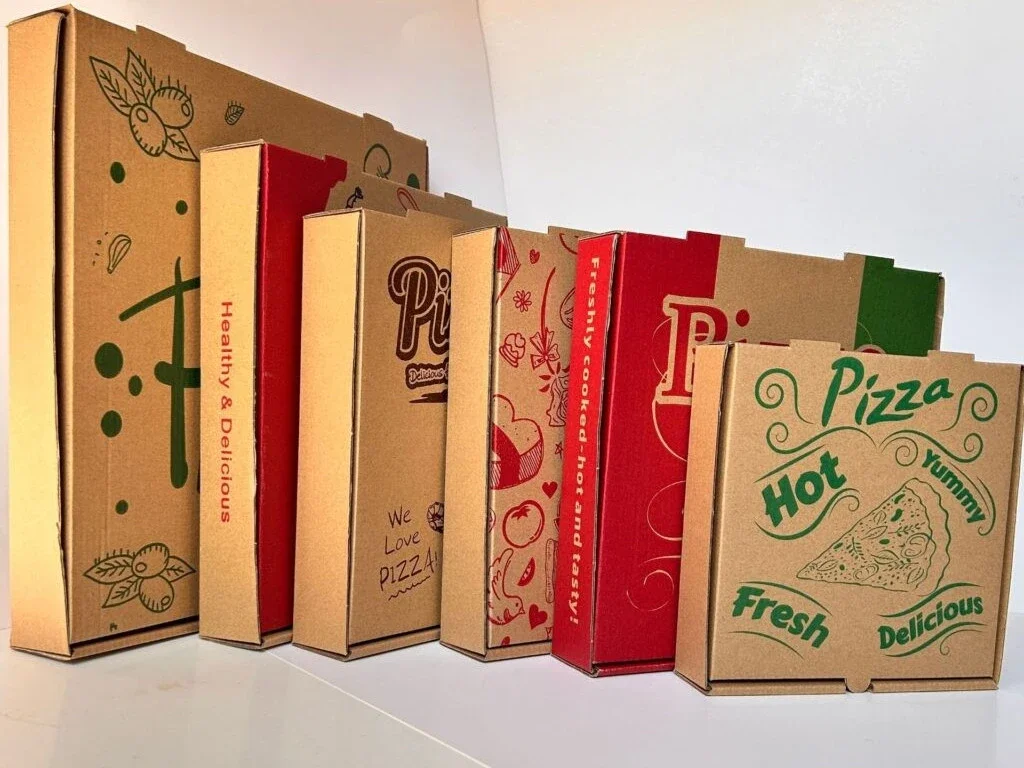
When starting up your flexo printer slotter die cutter machine, don’t rush into production. Accurate adjustment of each unit is crucial to ensure smooth operation and optimal output quality. This guide breaks down adjustment tips for each section of the machine: paper feeding, printing, slotting, die cutting, and stacking.
1. Before You Start: General Preparation
Ensure the machine is clean, powered on safely, and has passed initial inspection. Use the correct board thickness and adjust according to your production type.
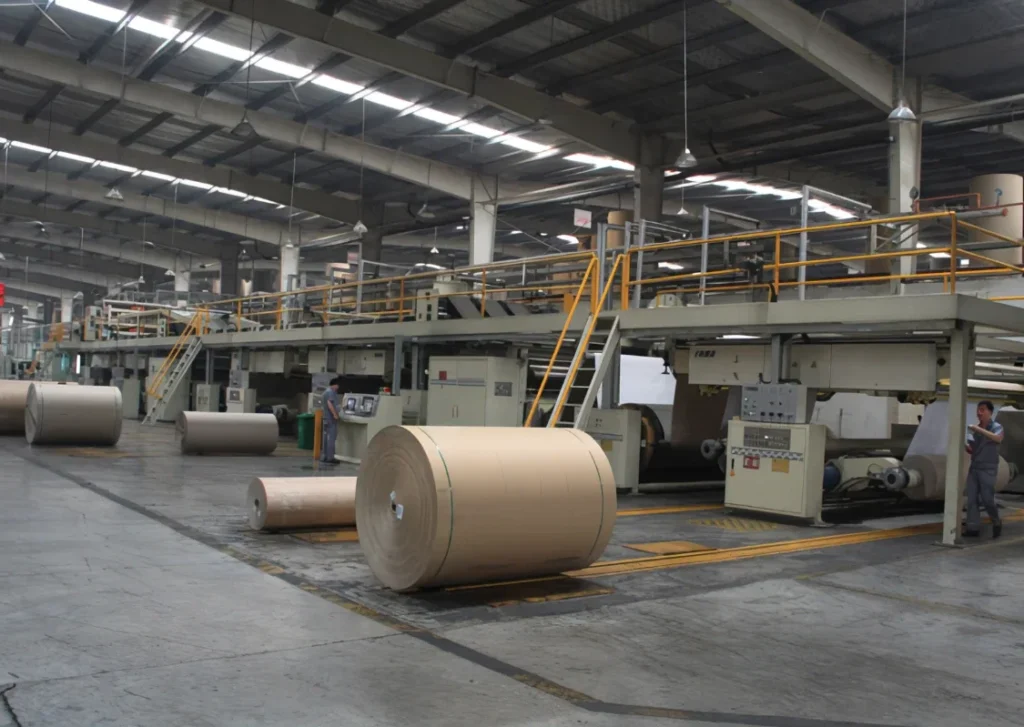
2. Paper Feeding Unit Adjustments
The paper feeding unit is responsible for smoothly transferring the corrugated board to the printing section.
Key Adjustment Points:
- Front baffle: Set gap to 1.5× board thickness; distance should be moderate.
- Side baffle: Board should extend ~2mm beyond side plate.
- Side pusher: Push the board 10–20mm into side baffle.
- Rear baffle: 3mm wider than board width.
- Feeding roller gap: Should not exceed board thickness by 0.1mm (adjust as needed).
3. Printing Unit Adjustments
Transfers the image from the printing plate via anilox roller using water-based ink.
Key Adjustment Points:
- Rubber roller & anilox: Keep consistent gaps to ensure even ink.
- Scraper blade: Clean or replace regularly.
- Anilox roller: Maintain parallelism and light contact.
- Printing cylinder: Align the plate accurately and reset horizontal movement.
- Press roller: Use minimum pressure to avoid dot expansion; ideal pressure: ≤ 0.2mm.
- Bite wheels: At least 10mm bite into edge; reduce 0.1mm gap per color unit.
4. Slotting Unit Adjustments
Controls creasing, slitting, and trimming—crucial for box forming.
Key Adjustment Points:
- Crushing wheel: Gap < half of board thickness.
- Creasing wheel: Gap ~half of crushing wheel.
- Slotting knife: 3mm gap between blades; 5mm paper clamping.
- Trimming knife: 6–10mm overlap; vertical precision is key.
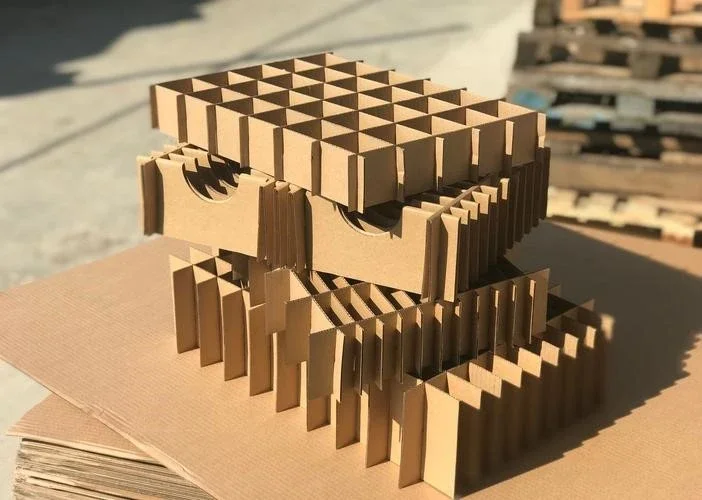
5. Die Cutting Unit Adjustments
Used to cut custom shapes into cardboard using a die board and rubber underlay (Youlijiao).
Key Adjustment Points:
- Lateral switch: Activate to allow die board movement and extend lifespan of rubber.
- Template installation: Screws must be inserted from the bottom. Use all screw holes to ensure template stability.
- Die hole position: Adjust only after lifting the rubber mat to avoid damage.
6. Stacker (Delivery) Unit Adjustments
Stacks the finished printed and die-cut cardboard uniformly.
Key Adjustment Points:
- Front baffle to belt end: 30mm more than cardboard width.
- Side flaps: Keep cardboard aligned.
- Conveyor belt speed: Ensure smooth delivery without overlapping or skewing.
7. After-Sales Support
Once you purchase the machine from us, our professional engineers will assist with installation and commissioning on-site. If you encounter any issues during operation, we provide prompt remote support to guide troubleshooting and re-adjustments.
📞 Contact Us
Have questions about flexo printer slotter die cutter machines or need quick support?
📱 WhatsApp: +86-18833771152
🌐 Website: www.jeytop.com